When remodeling a kitchen, you will need to decide at that point you want your backsplash to stop, both vertically and horizontally. Oftentimes you will find that there is a clear natural stopping point where you can finish backsplash tiles, but in some cases, such as on open walls, making this decision can be much tricker.
Here we will look at some of the recommendations for where a backsplash should, and should not, go in a kitchen or bathroom.
In This Article
What is a backsplash?
A backsplash is an area of wall tiles, marble, or other solid material that protects the wall. In a kitchen, the backsplash is configured around the countertop where food preparation and cooking takes place so that any food or grease splatters will go onto the backsplash where they can easily be wiped off rather than staining a painted wall.
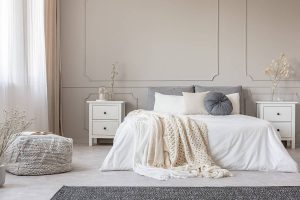
In a bathroom, the backsplash will go behind the sink, protecting the wall from soap and water splashes. Although the backsplash serves a functional purpose, they are also used as a decorative element in a room and can be styled to compliment the cabinets or to become the central feature of a space.
Where to end a backsplash
Traditionally, the backsplash would be installed wherever there was a countertop, at a total height of approximately 4 inches. This meant that there would still be a significant empty wall space between the top of the splashback and the bottom of the wall cabinets.
Most older homes that still have their original kitchens in place will have backsplashes of just 4 inches. Rather than being tile, backsplashes such as these were commonly made from the same material as the countertop. For example, a marble countertop might have a 4-inch tall marble backsplash, giving the effect that the countertop is beginning to climb up the wall.
The trend for continuing the backsplash up to reach the bottom of the wall cabinets became much more prevalent over the last few decades, and this became the standard way to install backsplashes in kitchens.
Most of us will be familiar with this method of where to end the backsplash, as it was considered the best way to install a tiled backsplash for many years. It worked well in terms of offering greater protection to the walls so that more surface area could be wiped clean in the event of a splash, and it meant that more of a feature could be made of the tiles.
However, an even more modern take on the backsplash is to cover the entire wall, from the countertop to the ceiling, in tiles. This gives a very sleek and striking look, and it also provides the walls with ultimate protection. Going right up to the ceiling in tiles prevents you from having to choose a wall paint cover, and it will hide any imperfections in the walls.
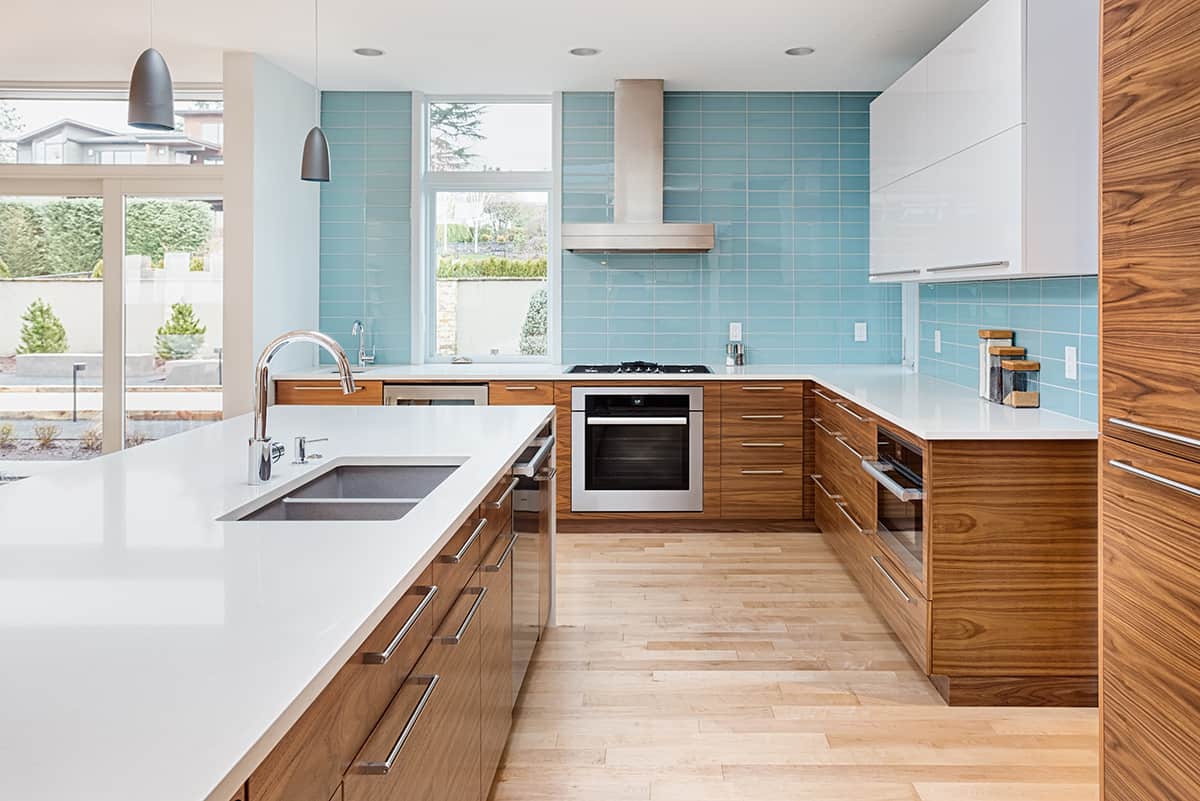
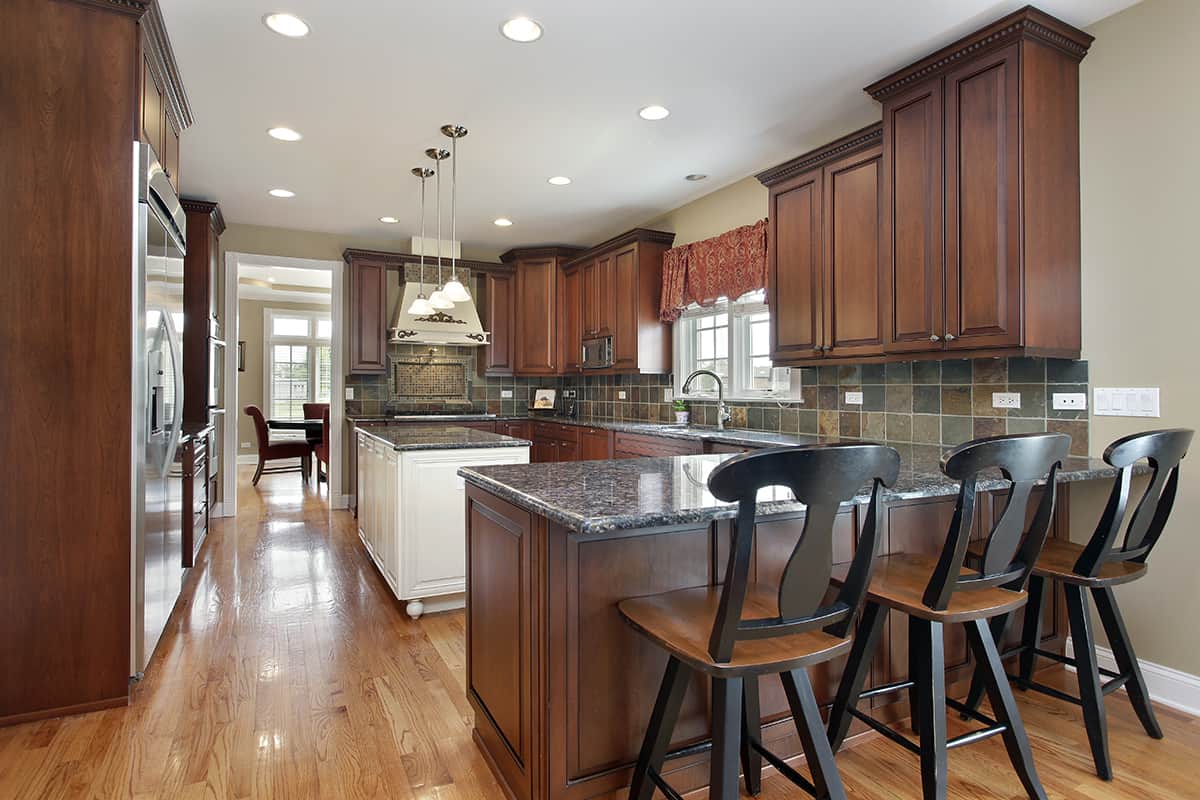
In many kitchens, you will notice a natural edge or line where the backsplash should stop, which makes choosing a stopping point for the backsplash an easy task. You could stop a backsplash at the point where it meets the wall cabinets or is in line with the bottom of a nearby window or a wall shelf.
However, in instances where there is no obvious stopping point, for example, on an open wall, where should the backsplash end? Well, there is no hard and fast rule for this, but there are a few options you can consider.
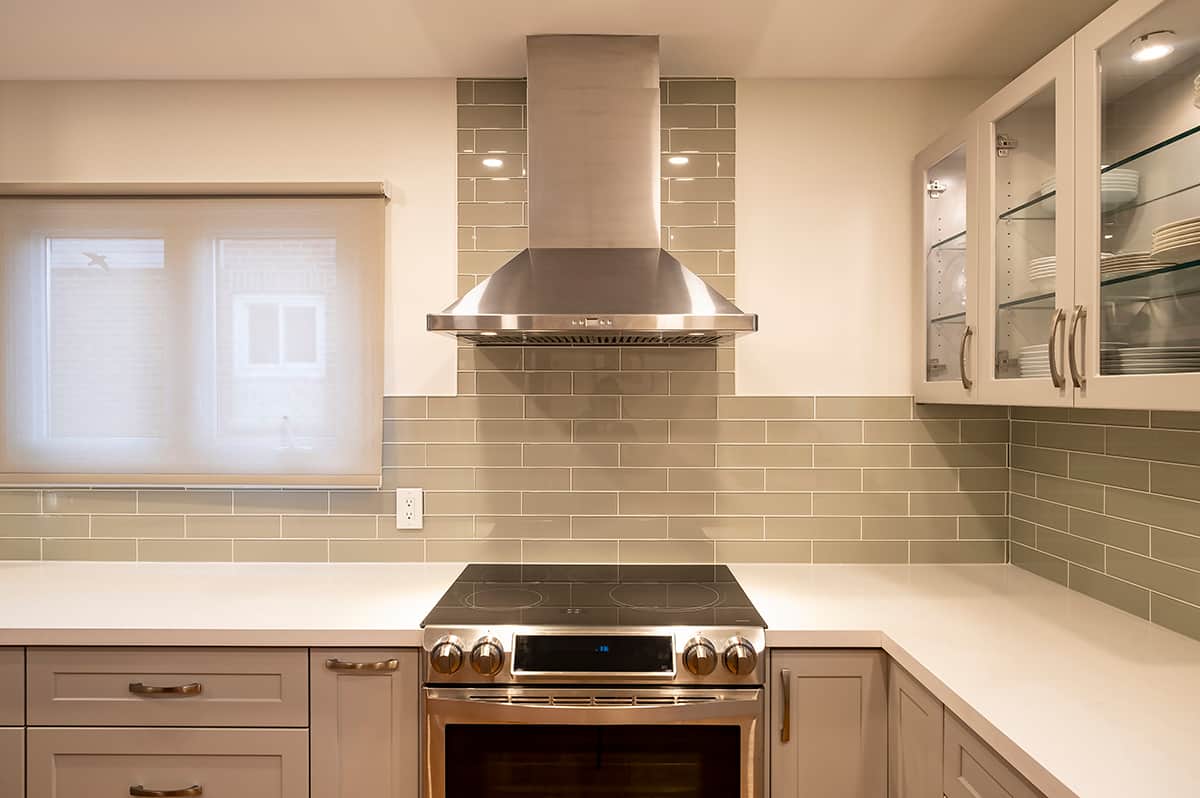
Tile to the ceiling
If you have a kitchen that does not have wall cabinets, then you might be struggling to figure out how high up your backsplash should go. In this case, continuing your backsplash right up to the ceiling is a really striking and stylish choice. This creates a really modern look that will work best in contemporary kitchens. Be sure to choose a tile you love because you will be seeing plenty of it!
The main issue with tiling to the ceiling is that it is going to significantly increase your kitchen remodeling costs. The additional tiles will cost more money, and you will also need more tile adhesive and more grout, which can really add up.
If you are having a contractor installing the backsplash, then a taller backsplash will obviously take more time and therefore cost more in labor costs.
Tile as much as you can afford
If you want your backsplash to make a statement, but you simply don’t have the budget to tile right up to the ceiling, then simply tile as high up as you can afford. If there is no obvious end point for a backsplash, then you can create your own. Wherever you decide to stop, the backsplash will become its own natural end point.
Phase out tiles
If your countertop extends further along the wall than your wall cabinets, this can create a tricky predicament. Should your backsplash stop where your wall cabinets stop or where your countertop ends? Well, technically, you can do whatever you like.
Most people choose to continue their backsplash for as far as the countertop goes because the true functional point of the backsplash is to protect the wall from splashes occurring on the countertop, and therefore its very existence is linked with the countertop.
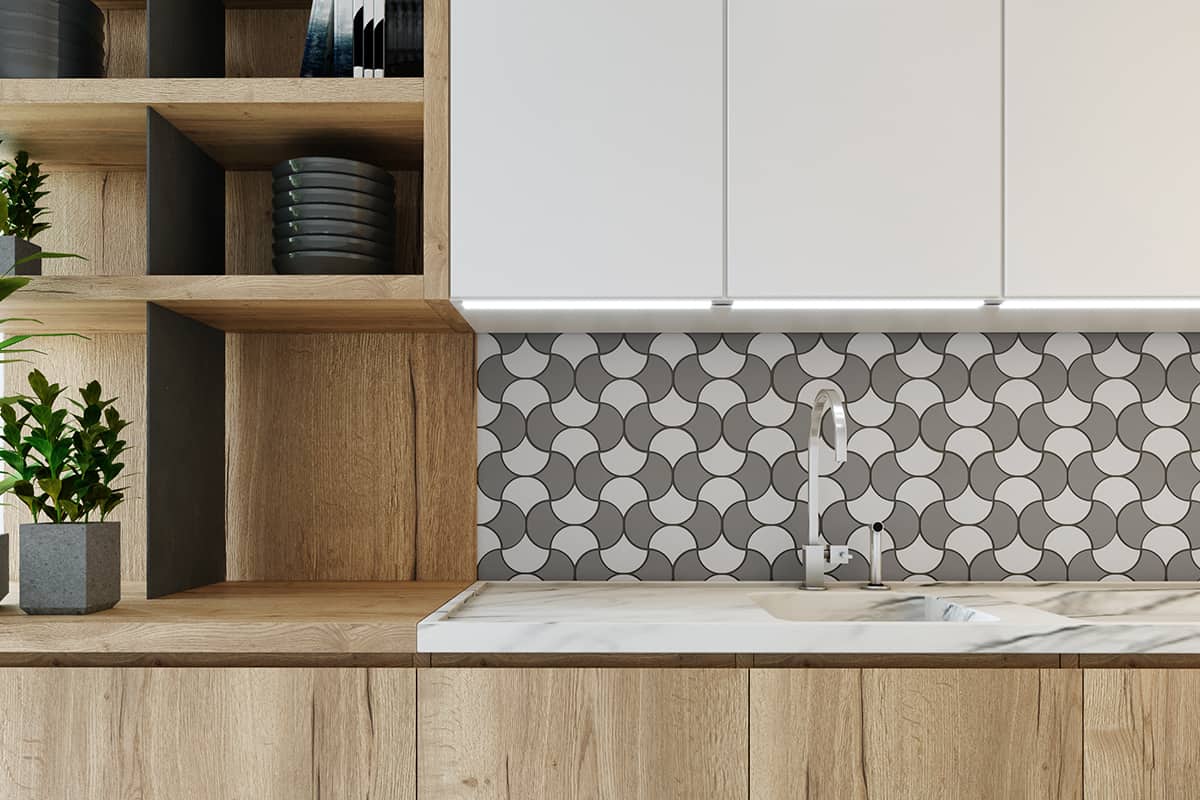
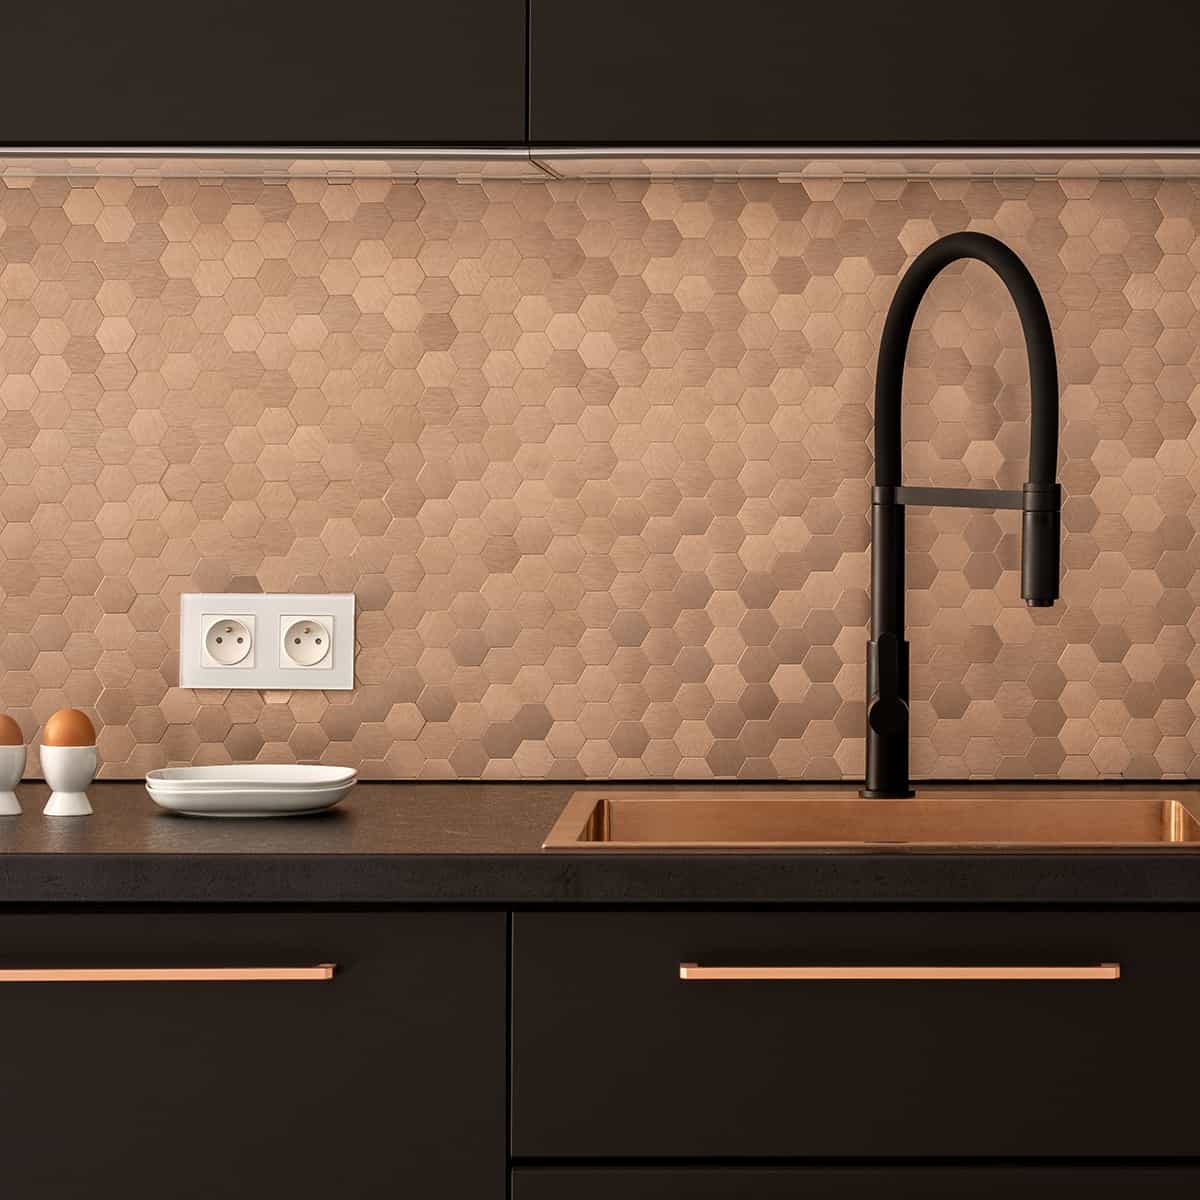
That being said, it can look odd when the backsplash continues further along than the wall cabinets. A good solution for this is to taper off or phase out the tiles. This is best achieved with hexagonal tiles that can be finished in a diagonal line going from the end of the countertop up to the end of the wall cabinet.
You can have fun with this and make a pattern out of it, creating a feature rather than trying to hide an odd layout.
Tile to a corner
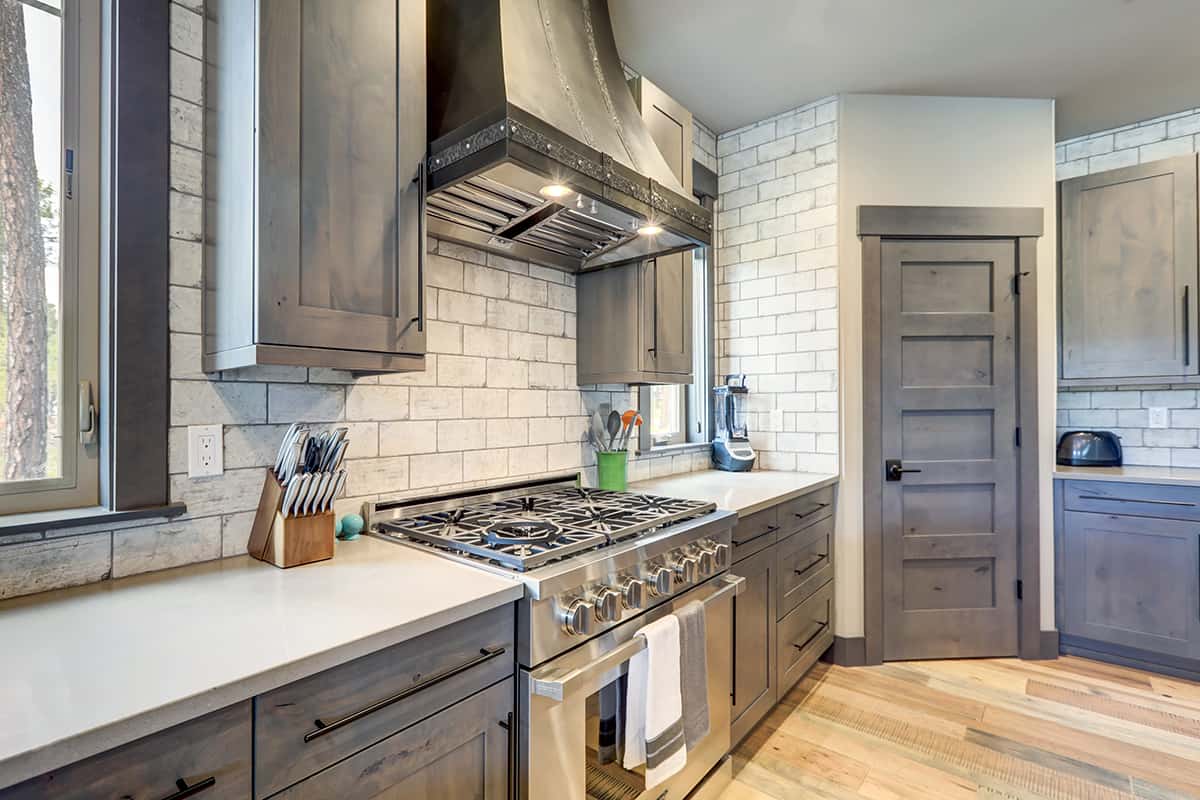
If your countertops of wall units do not quite fit snugly against a corner wall, and you only tile directly in line with them, then this can leave you with a small slither of awkward-looking wall space.
In this instance, continue the backsplash right up to the corner, even if your cabinets or countertop are a few inches shy. This will help to make the kitchen look more uniform and well-balanced.
Tile to the end of an area
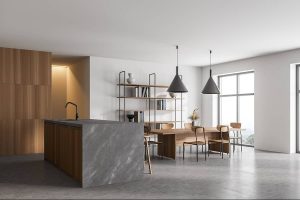
If your kitchen is in an open-concept space, then you can use your backsplash to help define the area. For example, if your kitchen is in an open-plan space with a living room, then you can continue your tiles up to the point where you want your living room to begin.
這將有助於創建一個兩者之間的鴻溝areas that can be useful for defining their functions and helping to give people a visual clue about what should be where. This is a tactic that can also be employed in a wetroom that opens onto a bedroom, where the beginning of the tiles signifies where thewetroombegins.
混合瓷磚
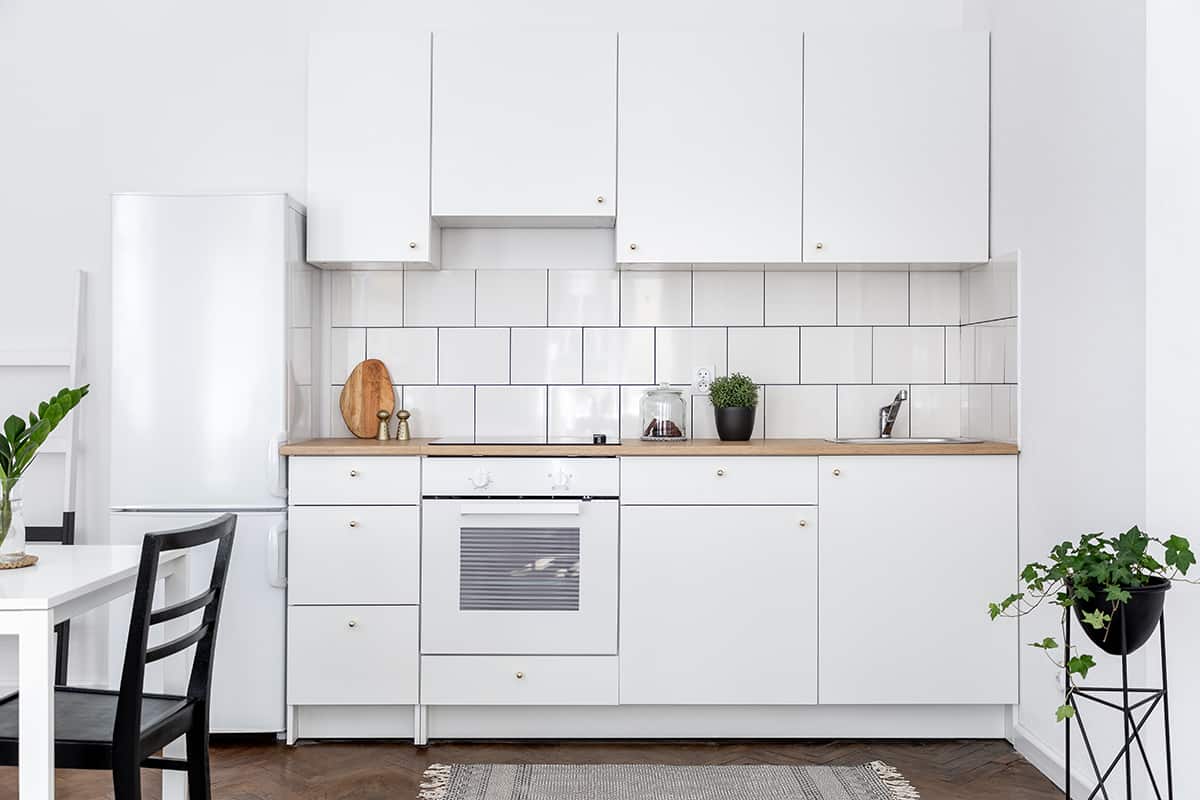
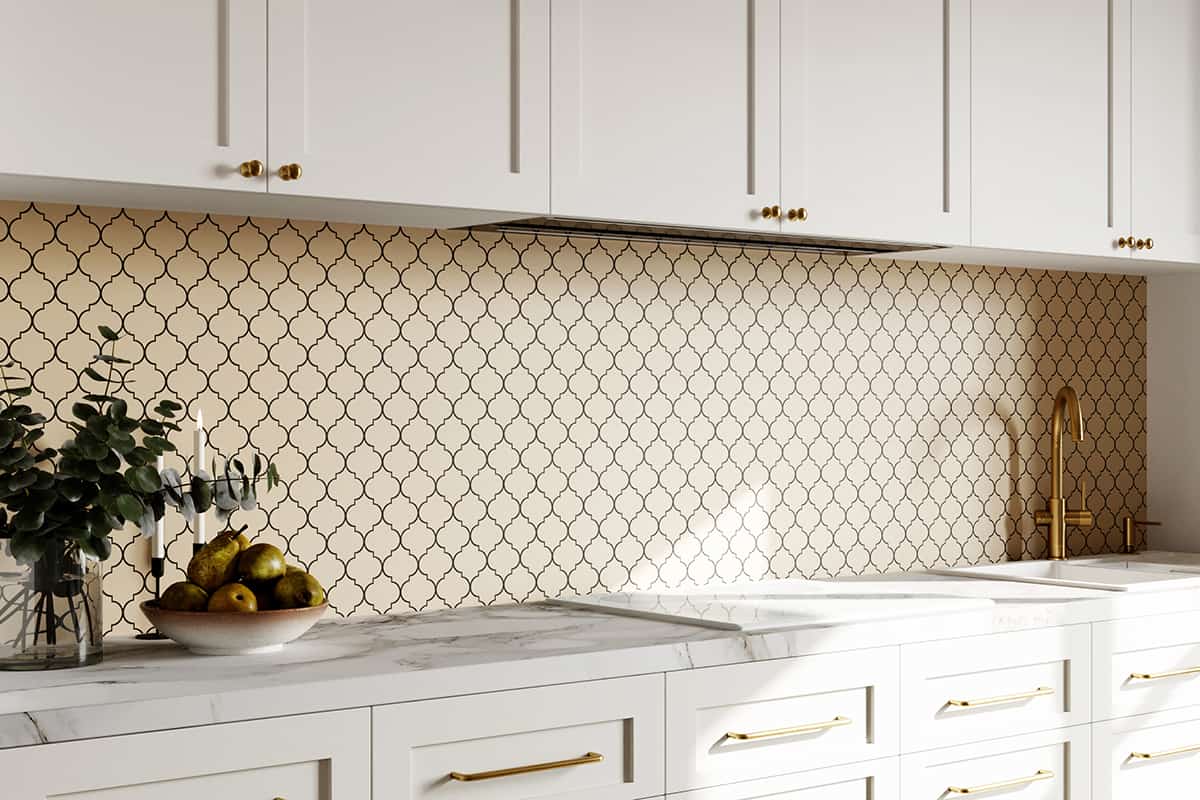
If you have an open wall and feel unconfident about the point at that you are ending your tiles, then choose a subtle backsplash that will not draw attention. If you have fears that the point at that the tiles end will look awkward, then select tiles in a color that will blend into the wall.
For example, in a room with white walls, choose white or cream tiles for the backsplash. This will prevent the end of the backsplash from making a harsh and definitive line on the walls and instead will create a softer transition between the two surfaces.
Choosing a backsplash that blends in with the wall color can also work really well from an interior decor point of view, creating a classic or minimalist look.
If you like this article, you might also like to check out these posts about backsplash